The best way to cap a sunny summer day is with a scrumptious summer meal. And arguably the best place to prepare this summer meal is on the grill.
What is debatable is the grill itself—some people are diehard charcoal grill lovers, while others prefer a gas grill or even a smoker. You can also debate the best meat to grill, the best side to accompany it, the best company with which to enjoy your barbecue, the best beverage pairing … the options are endless. And what about the actual meat preparation? Is a steak finished medium-rare better than a steak grilled medium or well done?
Who better to decide than Thomas Aldrich, a meat monger and assistant manager at France 44 Cheese Shop.
Fun fact: A meat monger is a person who finishes, sells and talks about meats. The term fleshmonger, which preceded the term meat monger, dates back to the 11th century. A butcher, by comparison, is someone who processes animals (prepares animals to be sold as meat).
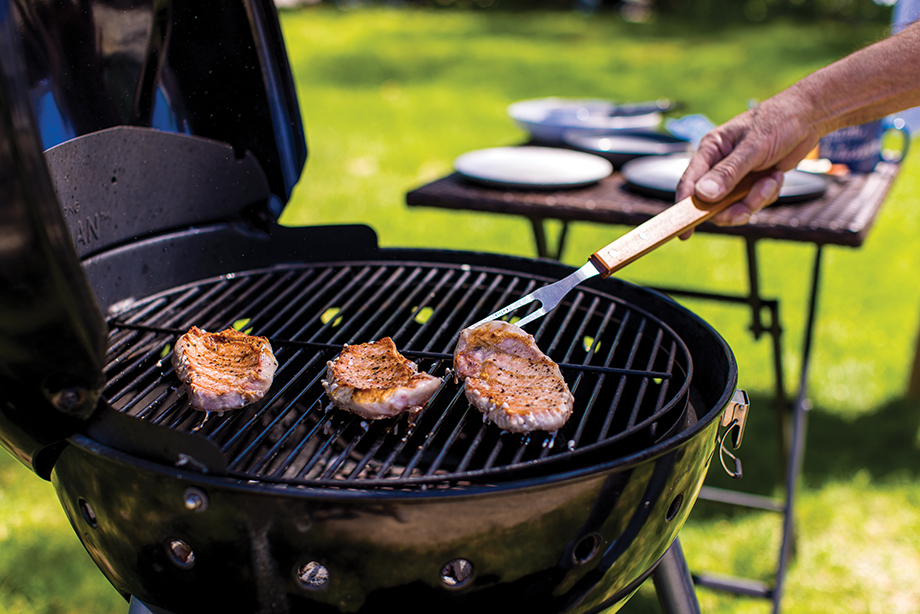
But back to the topic at hand: Is there a best grill? “It’s a question of time and flavor,” Aldrich says. “Grilling on charcoal gives meat a burnt-charcoal, rich flavor.
I love it, but my mom hates it. Cooking on charcoal does take longer. There’s also the time involved in preheating.”
Aldrich notes that, where a gas grill might sacrifice flavor, its advantages are time and convenience. “Cooking on a gas grill is like using a stove and an oven,” he says. “You don’t have complete direct control, but it’s close. You can set one side of your grill low and the other side high.
This allows you to [cook] something at low temperature and then sear it on high.”
He uses a two-inch-thick rib eye as an example. “You’re going to want to start cooler and bake it slow and then finish with a high-temperature sear,” he says.
So, for a grilling novice, is there an easy place to start? What meat provides a guaranteed good outcome? “I tell people to start with what they’re comfortable with,” Aldrich says.
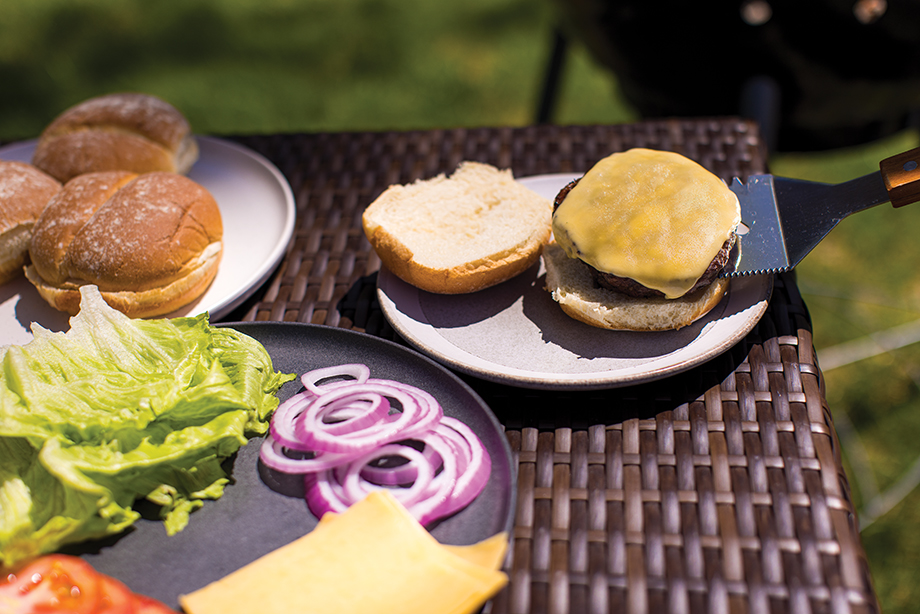
When pressed, he’ll settle on brats and burgers. “Brats are a good place to start because oftentimes they’re already cooked,” he says. “You can see how searing works, and you don’t have to worry about serving something undercooked. Because they’re relatively inexpensive, burgers are [also] a low-stakes option.”
If there’s an opposite end to the ease-of-grilling spectrum, Aldrich votes for a whole turkey—a great way to flex and challenge your grill skills. “I say whole turkey for the same reasons people give when talking about their struggles to bake one in the oven,” he says. “There is also that time commitment.”
Barbe-do’s
When asked for grilling hacks, Aldrich’s number one tip is to have and use a meat thermometer. “What you want is a really good instant-read thermometer, something like the ThermoWorks ThermoPop thermometer we sell in the store,” he says. “You’ll get a reading in three to four seconds.”
The USDA-recommended cooking temperature for ground meats, including beef, veal, lamb and pork, is 160 degrees F. For whole cuts of beef, veal and lamb, the safe temperature is 145 degrees F, and the same goes for pork. (However, it’s worth noting that if you prefer a medium-rare cut of steak or burger, you’ll be cooking it in the 130–140 degrees F range.) The safe cooking temperature for all poultry products is 165 degrees F.
This brings us to another Aldrich tip: Give it a rest. “If you take meat off the grill and immediately cut into it, you’ll end up with pieces of meat, [a] pool of juice and one big mess,” Aldrich says. “If you let it rest, those juices will stay in the meat.”
Aldrich’s rest-time recommendation is to let finished meat rest for about half its cooking time, meaning that skirt or flank steak that took eight minutes to grill should rest first for about four minutes before taking a knife to it. “Thicker cuts require longer rest times,” he says.
As Aldrich mentioned earlier, he also recommends grilling with two temperature zones if your grill allows it. If the grill has two settings, Aldrich says he would set one side at eight or nine and the other at one, two or as low as it goes.
He uses this tactic when making an at-home Juicy Lucy. “If you sear it aggressively for four minutes per side, you’ll end up with a nice crust,” he says. “Because this might not melt the cheese, you’ll want to put it on low heat for another two minutes. By taking it off the high heat, you’re not burning the outside.” The same concept can be used with steak.
Lastly, there’s that idiom that says you get what you pay for. Aldrich wholeheartedly agrees, especially when it comes to purchasing cuts of pork or chicken. “In my opinion, the biggest difference is with pork,” he says. “Farm-raised pork has more flavor and more marble. Fat is flavor.”
In chicken, the main difference is in how the chicken is cooled. “If you want to up your chicken game, look for chicken labeled ‘air-cooled,’” Aldrich says. “It’s better than water-cooled.” He says this is because air-cooled chicken retains more natural moisture and flavor, whereas chicken that water cooled is put in a water bath, and this washes off and removes some of the natural flavoring.
Blackened and Blundered
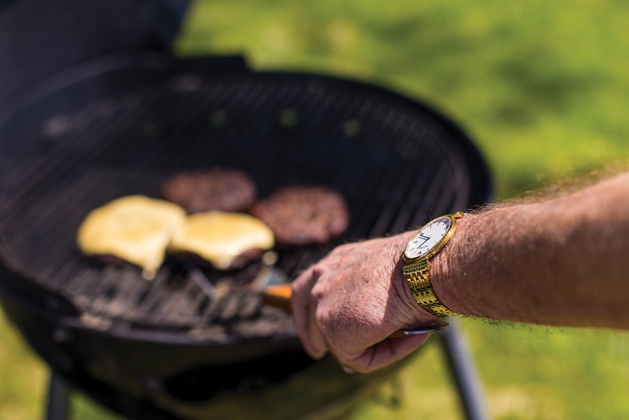
A tough-as-nails steak came off the grill and was plated next to a blackened hamburger. What the heck happened? Aldrich would say the griller committed the ultimate of grilling blunders. “Not wearing a watch or not having access to a clock when you’re grilling is one of the biggest mistakes you can make,” he says. “Lose track of time and you’re going to end up with a nuked piece of meat.”
He prefers a watch to a cell phone, as grilling can be a messy endeavor. “You’re not going to reach into your pocket with greasy hands,” he says.
And what about when you’re pulling a cut of meat out of the freezer for a grill-out? Grilling mistake number two is throwing frozen meat right onto the grill.
Aldrich recommends fully thawing the meat first, in all cases but one. “The only thing I would ever put from frozen onto the grill is a burger patty,” he says. Because of how thin burger patties are, they thaw as they cook and can cook evenly.
For anything else, he recommends taking your meat out of the freezer a few days ahead of time and putting it in the fridge to naturally thaw. But if you didn’t plan ahead, you’re not totally out of luck. You can put your meat into a sealed Ziplock bag and immerse the bag in a bath of cold water. (Cold, not hot. Otherwise, you’re essentially starting a very slow sous vide cooking process, Aldrich says.) He recommends a cold water bath over thawing meat in the microwave, since microwaves can start cooking your meat as it thaws.
Whichever thawing method you choose, he also recommends leaving your meat out for 10–20 minutes before putting it on the grill to allow it to come to room temperature. This results in more even cooking and helps your meat retain more moisture while cooking.
France 44 Cheese Shop
4351 France Ave. S, Mpls.
612.278.4422
Facebook: France 44 Wines & Spirits
Instagram: @france44cheese
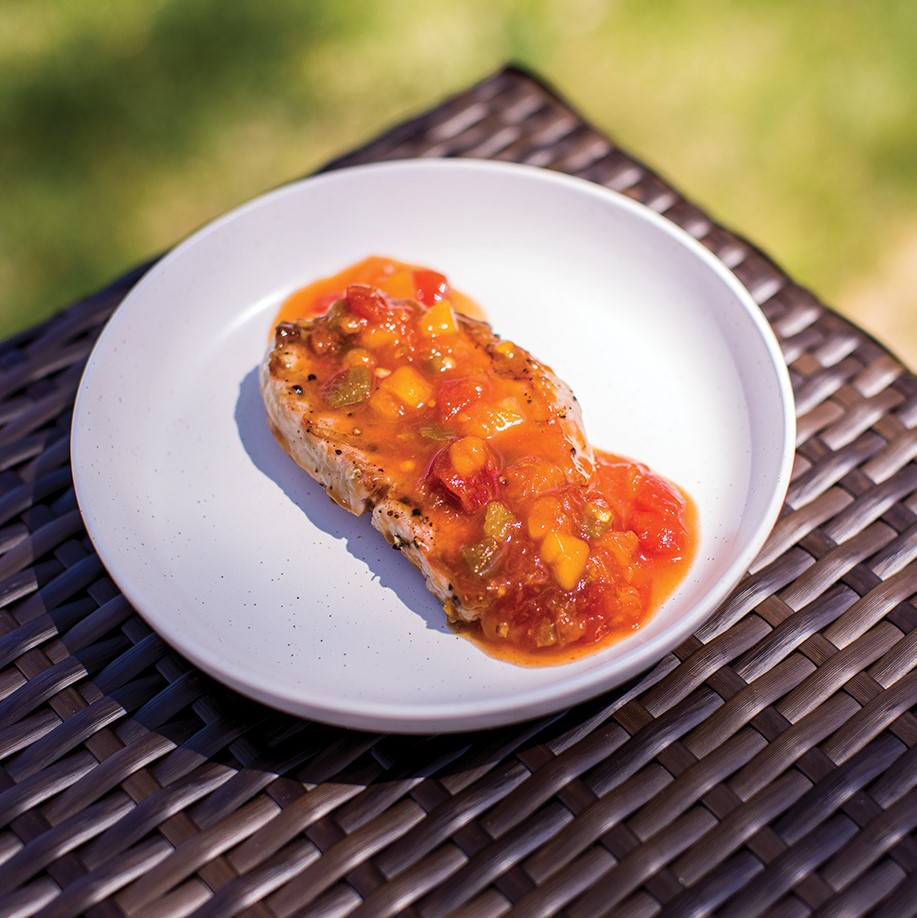
Honey Mango Salsa Pork Chop
Contributed by Justin Konopaski of Cooking with Justin
Instagram: @cooking_with_justin
Ingredients:
3 Tbsp. honey
2 Tbsp. soy sauce, low sodium
2 cloves garlic, crushed or minced
¼ cup chicken stock, low sodium
2 Tbsp. apple cider vinegar
1 Jerry’s Foods mango salsa container (recommended)
Salt, to taste
Pepper, to taste
Garlic powder, to taste
Grill set up: Indirect heat; all the coals on half the charcoal grill, or half the burners on one side of the gas grill. Grill should be 400–450-degree F on the hot side and 275–300-degrees F on the off-heat side.
Season the pork chops with salt, pepper and garlic powder, and cook on the grill for a minute or two on each side. (The intent is to cook the outside, but not quite finish them internally, yet.) Once mostly cooked, set aside and start the glaze. In a cast iron dish or pan, melt the butter, garlic, honey, chicken stock and apple cider vinegar until thick enough to glaze the pork chops without falling off. Glaze the pork chops and return them to direct heat to continue cooking; flip them every so often for even cooking on both sides. Remove from heat once the internal temperate reaches 145 degrees F. At this point, the glaze should be charcoal kissed, and the edges should be crispy. For a sweet way to beat the heat, top finished pork chops with Jerry’s Foods mango salsa and enjoy!
Jerry’s Foods
5125 Vernon Ave. S
952.929.2685
Facebook: Jerry’s Foods – Edina
Grilling Glossary
Best Home Cook
What’s the word on your grilling skills?
BY RENÉE STEWART-HESTER
Word has it that it’s National Grilling Month. While the summer entertaining season is just heating up, there is plenty of time to bone up on your grilling terminology. Whether you’re hosting guests around outdoor living spaces or inside your home or making dinner for just the family, grilling techniques can be the star of the show.
Let’s start with this list of terms that can help you garner the vote for the Best Home Cook at your house!
2-Zone Cooking: using different heat zones to gain more control over the temperature
3-2-1 Ribs: smoking for three hours at a low temperature, wrapping ribs in foil and continuing to cook for another two hours and unwrapping to cook for a final hour at a higher temperature while basting
Bark: outer layer of flavorful, seasoned crust on a brisket or other type of smoked meat
Black and Blue (Pittsburgh): red meat that’s been grilled to a char on the outside while the inside is still “blue” (very rare)
Blade Tenderizing: thin cuts made in the fiber and connective tissue of otherwise tough cuts of meat to tenderize them
Blue Smoke: smoke is tinged slightly blue due to its heat
Bottle o’ Red: ketchup
Burnt Ends (Meat Candy): crispy, fatty bark pieces of a smoked brisket, usually made from the point end.
Chimney: lighting a charcoal fire by creating a “chimney” from paper to heat and ignite the charcoal
Cold Smoking: food is infused with a smoky flavor but isn’t cooked and usually done at or below 140°F.
Cowboy Barbecue: cooking over open coals, often with cast-iron cookware
Creosote: carcinogenic substance that can form on the surface of meat if wood isn’t burned properly
Crust: crispy outside layer of barbecued meat
Dalmatian Rub: dry seasoning of salt and black pepper
Danger Zone: temperature range of 41-135°F where microbes are able to grow rapidly
Fat Cap: thick layer of fat between the skin and flesh on some cuts of meat
Fond: browned meat juices, fat and spices that are left at the bottom of the pan after cooking some dishes. (Don’t toss them out! They can add amazing flavor to your dish.)
Holy Trinity: traditional mix of onion, celery and bell peppers
Maillard Reaction: chemical reaction that occurs when protein and sugars in food cooked over high heat produce new flavors, aromas and colors
Planking: meat or seafood is placed on a thin piece of wood that was soaked in water to create steam and smoke when heated to add flavor
Reverse Sear: meat is cooked over a low heat and finished by searing over a high, direct heat
Rib Tips: very end of a rack of spareribs after being trimmed to make St. Louis style ribs
Searing: meat is placed over high heat for a short period of time to brown and crisp the surface
Snake Method: low and slow cooking with charcoal placed around the inner edges of a barbecue (Only the first few are lit, and the others catch fire as heat reaches them.)
Smoke Point: temperature at which cooking fat begins to let off smoke
Truss: bind legs and wings of a bird to its body, ensuring it maintains an even shape so that none of the extremities dry out
Unrendered Fat: fat that hasn’t been fully cooked but is melted with a hard, caramelized crust
Wet-aged Beef: beef that’s been aged in a vacuum-sealed bag to improve the flavor
Wet Ribs: cooked ribs that have been brushed with sauce before, during and after cooking
Wolf Claws: barbecue tool that’s used to shred meat
Let’s eat!
Add to your grill glossary by visiting Burning Brisket.


